How to Repair PEX Pipe: Identify the Damage Before Choosing a Fitting
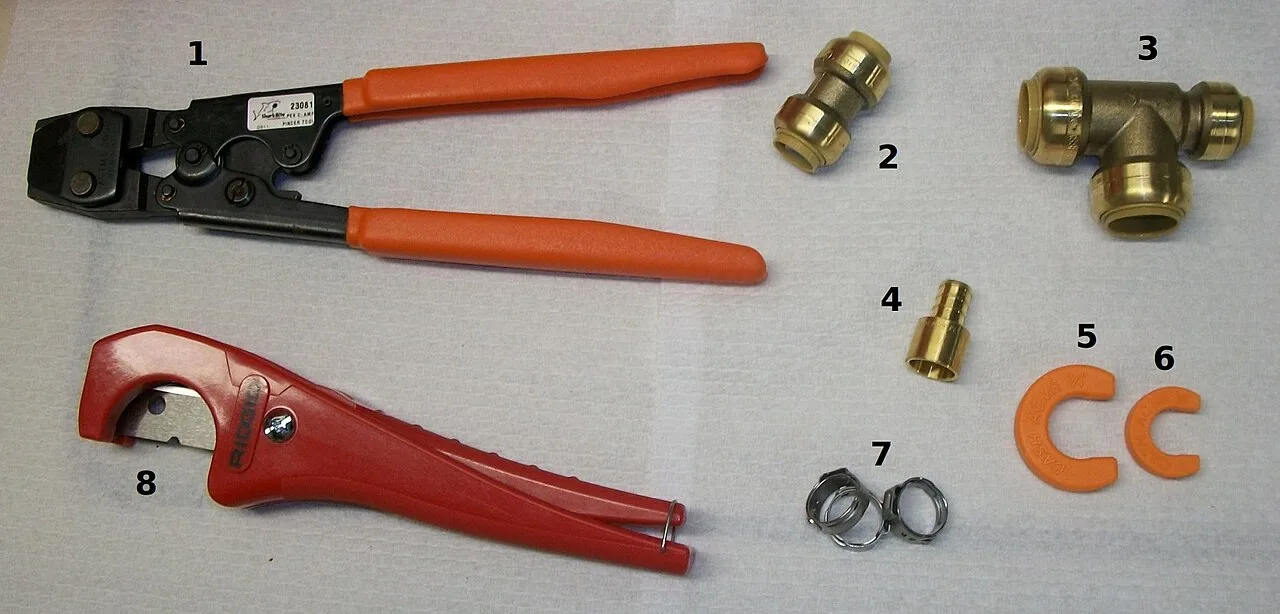
Repair a cut or punctured PEX water line by isolating the supply, removing the damaged section and installing replacement tubing with a connection system approved for that pipe and application. Do not choose the repair by pipe color or by whichever fitting happens to fit over the end. A kink, a leaking fitting and damage to the tube itself need different decisions.

✓ Checked by a licensed plumber Kevin Orr, Texas Master Plumber License M-47441 (look it up)
Last reviewed
In this guide
Start by finding the printing on the tube and identifying whether this is drinking-water plumbing or a hydronic heating circuit. Manufacturer instructions for a radiant loop are not automatically instructions for a kitchen supply line.
Stop the water, then identify what failed
SharkBite's PEX repair instructions start with turning off the supply and opening a nearby faucet to relieve pressure. If you cannot isolate the line, stop and call a licensed plumber. Keep away from electrical equipment that has become wet.
Dry the exposed area enough to see where water starts. A split or puncture in the tube is different from water appearing at the edge of a ring, sleeve or fitting. For a connection leak, use our separate guide to diagnosing leaking PEX connections by fitting type. Rebuilding the same joint without identifying its connection system can repeat the original error.
Before buying parts, record:
- The manufacturer's name and the size printed on the tube.
- Whether the existing connection uses a copper crimp ring, stainless cinch clamp, expansion ring, integrated press sleeve or push-to-connect fitting.
- Whether the pipe carries potable water or serves a heating circuit.
- Whether the repair will remain accessible or be concealed, buried or surrounded by concrete.
If the markings cannot be read, ask the plumber or pipe manufacturer to identify the system. A matching diameter is not enough to settle tool, fitting and installation compatibility.
A kink is not permission to heat every PEX pipe
The Uponor PEX piping installation guide describes thermal-memory repair for its piping and distinguishes that from damage requiring a fitting repair. That is a product procedure, not a universal instruction for all cross-linked polyethylene.
Do not use an open flame or improvise a heat-gun repair from a general article. Identify the exact product first. If the tube has been cut, notched or damaged beyond the manufacturer's repair allowance, replacing the affected length is a different job from restoring the shape of an undamaged kink.
Match the fitting, tool and inspection method
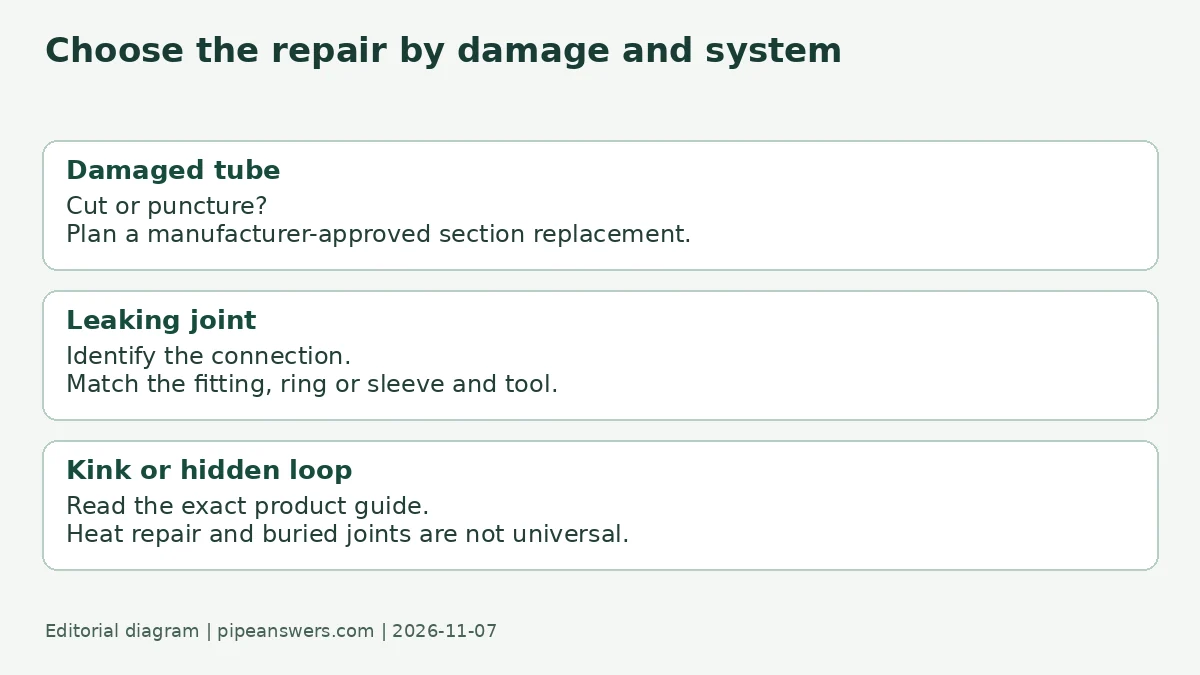
These connection names describe different systems. They are not interchangeable assembly steps.
| Connection you identify | What the repair instructions must specify |
|---|---|
| Crimp ring or cinch clamp | Compatible tube and fitting, ring or clamp location, tool and the required finished-joint check |
| Cold expansion | Approved tube and expansion components, correct head/tool method, fitting insertion and recovery requirements |
| Integrated PEX press sleeve | Compatible press fitting, jaw/tool placement, complete press cycle and inspection method |
| Push-to-connect | Product approval for the particular tube, preparation, insertion depth and any liner requirement |
Use the manual supplied with the exact repair components. Do not apply the ring position from a crimp system to a press sleeve or an expansion connection. The tools in the photo are examples of different PEX-related parts, not a complete kit for every repair.
What a correctly planned section replacement involves
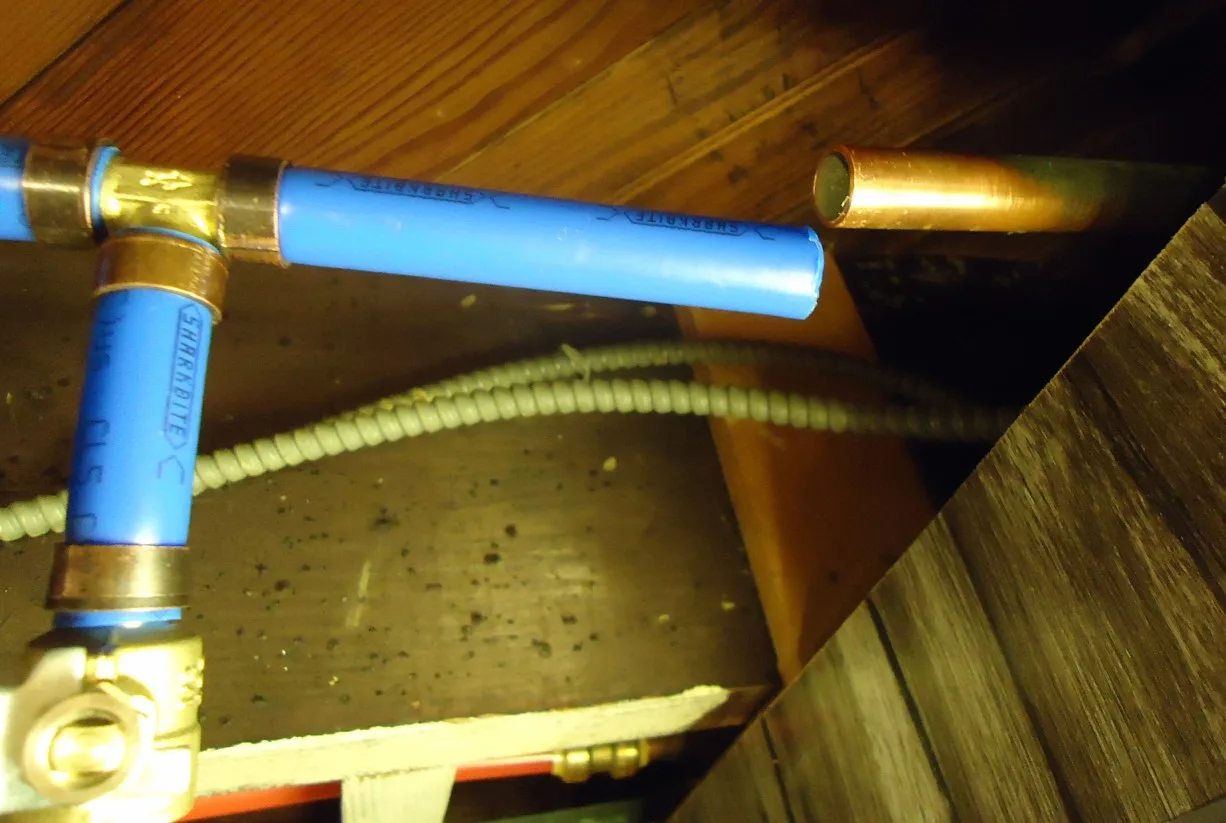
A repair should have a written product procedure before the damaged section is removed. The basic sequence is isolation, preparation, assembly and testing; the detailed instructions come from the selected system.
Cut and prepare the ends. SharkBite's PEX Press procedure calls for a proper PEX cutter and a square, clean cut, rather than a saw or damaged cutting tool. It also requires the pipe to be clear of burrs, debris and damage. Inspect both ends, not just the side where water escaped.
Allow for the actual connection arrangement. A single coupling joining sound ends is not the same arrangement as a replacement length joined at both ends. Do not force a tube into position to compensate for a plan that leaves insufficient room for the specified assembly and inspection. If access does not permit the approved method, have the layout assessed by a plumber.
Follow one system through to completion. For example, SharkBite's integrated PEX Press system requires seating the tube, checking it through the viewing windows, positioning the correct jaws, completing the press cycle and inspecting the finished sleeve. That manufacturer specifically says not to interrupt the cycle or press the connection more than once. Those instructions do not describe an ordinary copper crimp ring.
Test using the applicable instructions. Do not borrow a pressure or test medium from a different product guide. The test must suit the pipe system, equipment and local requirements. Do not conceal a repair before it has passed the required checks.
Hidden heating-loop repairs need a separate decision
Legend's field-repair bulletin for its PEX and PE-RT hydronic tubing prefers replacing a complete damaged run in concealed or concrete locations when time permits. It treats repairs in such locations as emergency measures and specifies protection for relevant buried repair fittings.
That does not mean every plumbing fitting can be buried if wrapped in any tape. The important lesson is to find the manufacturer's instructions for the application and location, not just the material name. A homeowner reading a radiant-floor repair sheet should not transfer its method to a drinking-water line without checking approvals.
If the leak is under a slab, inside an inaccessible wall or part of a heating loop, involve a licensed plumber or qualified heating contractor before opening or reconnecting it. Ask whether replacing the run avoids a concealed joint and what testing and protection the proposed repair requires.
Check the repair and the reason it was needed
A dry joint is one part of the result. Keep the product information, photograph the finished accessible repair and follow the installer's instructions about inspection before the area is closed. If you notice another leak, falling pressure or fresh wetness, isolate the supply again rather than repeatedly tightening or pressing an unidentified fitting.
For water that seems to come from nowhere, our guide to finding water under a sink by when it appears separates supply, drain and condensation problems. Confirming the source first can prevent replacing a sound piece of PEX while the real problem stays in place.
Smell gas? Leave the building without switching anything on or off, then call your gas utility or 911 from outside.
Know your shutoff. Find your home’s main water shutoff before you need it. Most fixtures also have their own small valve.
Sources
- SharkBite: PEX Press leak repair
- Uponor PEX piping installation guide
- Legend: PEX and PE-RT hydronic tubing repair
Spotted an error? See our corrections policy or email contact@pipeanswers.com.

Pipe Answers Editorial Team
Our editors build each guide from the sources listed above and check every claim and number against them before publishing. How the team works
Kevin Orr
Expert Reviewer, Plumbing
Texas Master Plumber License, M-47441 · Verify license
Kevin Orr is a Texas Master Plumber, a U.S. Army veteran and the owner of a plumbing company. In his view, good plumbing is more than fixing pipes. It means showing up when you say you will, explaining what needs to…
Related guides
- Leaks & Pipes
Why Are My PEX Connections Leaking? Diagnose It by Fitting Type
A leaking PEX joint almost always traces back to how it was made: ring position, tool calibration, cut, insertion depth or the wrong part. How to tell which, by fitting type.
-
 Leaks & Pipes
Why Is My Water Bill So High All of a Sudden? Check the Bill, Then the Meter
A sudden jump in your water bill is a reading problem, a usage change, or a leak. How to read the bill, run the meter test, and find the leak before the next cycle.
-
 Leaks & Pipes
Why Do My Pipes Bang When I Turn Off the Water? Water Hammer Explained
A single bang the instant a faucet or washer shuts off is water hammer. How to confirm it, check your water pressure, and choose the right ASSE 1010 arrestor.
-
 Leaks & Pipes
Water Under the Kitchen Sink but No Leak? Find the Source by Timing
Water in the sink cabinet with no drip in sight? When the puddle appears tells you the source: supply line, sprayer hose, drain, dishwasher hose, sink seam or sweating pipes.