How to Adjust the Water Level in a Toilet Tank
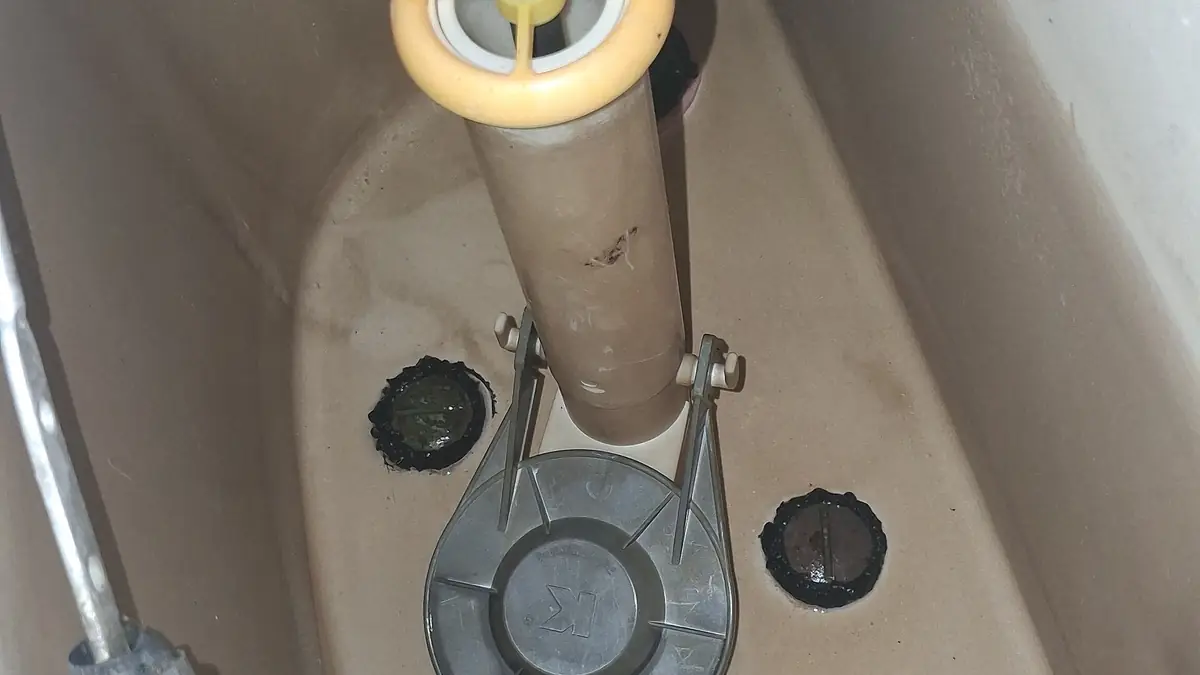
Set the water in the toilet tank so it stops below the top of the overflow tube, the open pipe in the middle of the tank. Korky says about 1/2 inch below (Korky), the Portland Water Bureau says 1/2 to 1 inch (Portland Water Bureau), and American Standard says 1/4 to 1/2 inch (American Standard). If your tank or fill valve has a water line mark, use that. You change the level by changing where the float shuts off the fill valve.

✓ Checked by a licensed plumber Kevin Orr, Texas Master Plumber License M-47441 (look it up)
Last reviewed
In this guide
- Why the level matters
- How to check your current level
- Signs the level is wrong
- First, rule out the flapper
- Which fill valve do you have?
- How to adjust a float-ball valve
- How to adjust a float-cup valve
- How to adjust an adjustable-height fill valve
- Can you adjust the water in the bowl?
- When to replace the fill valve instead
- If it still runs or the bowl stays low
- Frequently asked questions
- Sources
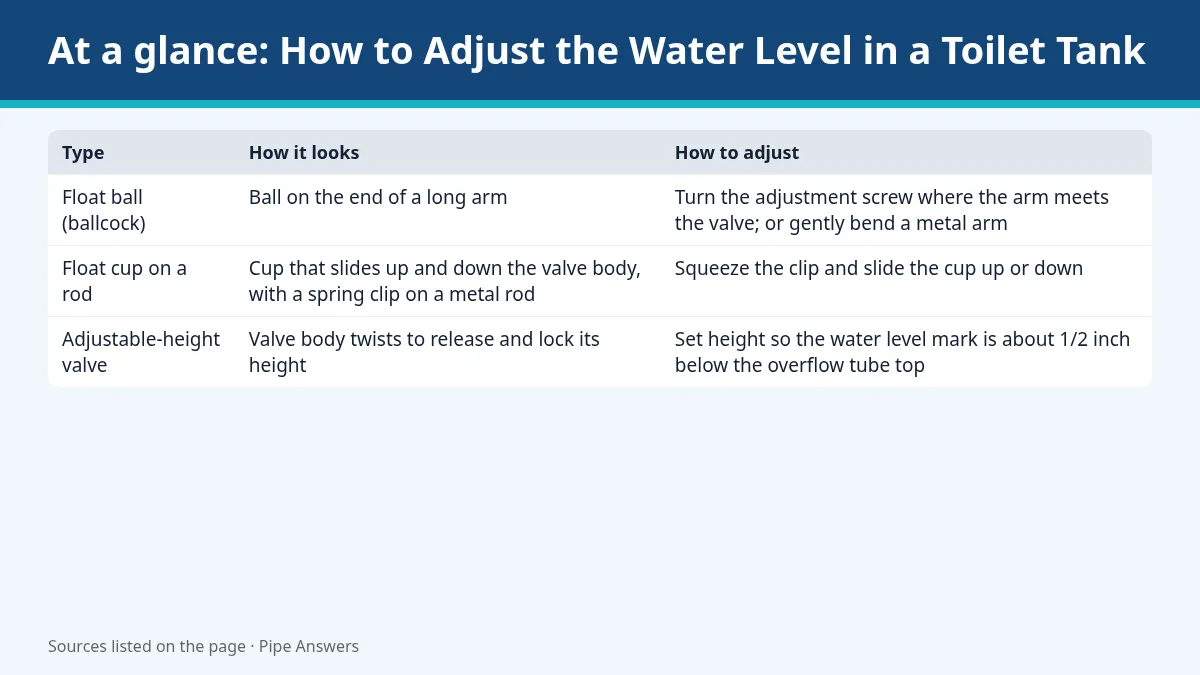 Graphic: summary of this guide, made by our team from the cited sources.
Why the level matters
The Portland Water Bureau explains both sides: if the tank water is too high, it can spill into the overflow tube continuously and create a large leak; if it is too low, you may not get an efficient flush (Portland Water Bureau). A level set too high is a common reason for a toilet that keeps running or hissing; Korky lists a too-high water level as one cause of a hissing toilet (Korky).
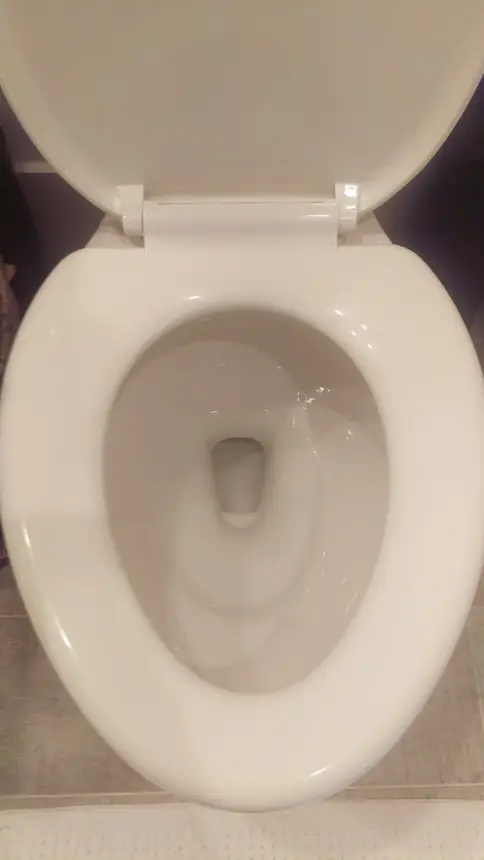
How to check your current level
- Take off the tank lid and set it on a towel. Lids are heavy and crack if dropped.
- Find the overflow tube. It is the open pipe in the middle of the tank, usually next to the flapper (American Standard).
- Look for a water line mark. Many tanks have a line molded inside, and Korky stamps a water level mark on all its fill valves (Korky).
- Flush and let the tank refill completely. Wait until the hissing stops.
- Measure from the top of the overflow tube down to the water. A ruler or tape measure held against the tube works.
If the water is right at the top of the tube, or you can see it trickling in, the level is too high. If it is more than about 1 inch below, it is probably too low.
Signs the level is wrong
| What you notice | Likely problem |
|---|---|
| Hissing or trickling long after a flush | Level too high and spilling into the overflow tube, a flapper leak, or a valve that won't shut off (Korky) |
| Weak or incomplete flushes | Not enough water in the tank (Korky) |
| Valve keeps running or overflows | Fill valve set too high (Korky) |
| Low water in the bowl after every flush | Tank level too low, or the refill tube is off the overflow tube (American Standard) |
A running toilet is not a small leak. EPA WaterSense says a toilet that runs constantly can waste more than 200 gallons of water a day (EPA WaterSense). To see what that costs on your bill, enter the gallons per day in our water leak calculator.
First, rule out the flapper
A high water level and a leaking flapper sound the same. Do a dye test before you adjust anything. Put a few drops of food coloring or a dye tablet in the tank, do not flush, and wait at least 15 minutes. Color in the bowl means the flapper is leaking (Portland Water Bureau). Flush afterward so the dye does not stain the tank (EPA WaterSense).
If the flapper leaks, the Portland Water Bureau says to rub it gently. Black streaks on your fingers mean the rubber is breaking down and it should be replaced (Portland Water Bureau). Check the chain too. The Southwest Florida Water Management District suggests about 1/2 inch of slack, hanging straight from the handle lever (SWFWMD).
Which fill valve do you have?
| Type | How it looks | How to adjust |
|---|---|---|
| Float ball (ballcock) | Ball on the end of a long arm | Turn the adjustment screw where the arm meets the valve; or gently bend a metal arm |
| Float cup on a rod | Cup that slides up and down the valve body, with a spring clip on a metal rod | Squeeze the clip and slide the cup up or down |
| Adjustable-height valve | Valve body twists to release and lock its height | Set height so the water level mark is about 1/2 inch below the overflow tube top |
Sources: Portland Water Bureau; Korky.
How to adjust a float-ball valve
The Portland Water Bureau says that on float-ball toilets there is usually a screw where the float arm connects to the fill valve, and adjusting it changes the level at which the valve shuts off. If there's no screw or it's at its limit, you may be able to carefully bend a metal arm (Portland Water Bureau).
- Turn the screw a little: lowering the ball lowers the water level.
- Flush and let the tank refill completely.
- Check where the water stops, and repeat until it's right.
How to adjust a float-cup valve
On vertical float valves, the Portland Water Bureau says the float is a collar around the valve with a spring clip connecting it to a metal rod; squeeze the clip to slide the float up or down (Portland Water Bureau). Move it about 1/2 inch at a time, flush, and check.
Some newer valves use a turn knob or screw on top instead. Look for an arrow or "+/-" marking.
How to adjust an adjustable-height fill valve
Many newer valves, including Korky's, set the water level by the height of the whole valve body. Korky's steps (Korky):
- Turn off the water, flush, and sponge out the rest of the water.
- Hold the bottom of the valve and twist the top counterclockwise to release the height lock.
- Slide the valve up or down until the water level mark sits about 1/2 inch below the top of the overflow tube.
- Twist the top clockwise to lock it. The ribs line up with the pegs when it is locked.
- Turn the water back on, let the tank fill, and check the level.
On other brands, the instructions printed on the valve or in its package show where the adjustment is.
Can you adjust the water in the bowl?
Not directly. What you can change is how much water gets sent to the bowl during the refill. Korky says to flush, wait about 3 minutes for the bowl to settle, and mark the level. Then set any bowl refill adjuster so the bowl reaches that mark at the same moment the fill valve shuts off. More than that just goes down the drain (Korky).
The refill tube matters here. Clip it to the lip of the overflow tube. Korky warns not to push it down inside the tube, because that can create a siphon and keep the valve running (Korky).
If the bowl is still low, American Standard suggests checking the rim holes with a small mirror. If they are clogged, pour hot vinegar down the overflow tube, let it sit, overnight if you can, and clear the holes with a piece of wire (American Standard). A crack in the bowl can also cause a low level, and then the bowl has to be replaced (American Standard).
When to replace the fill valve instead
Korky says fill valves typically last 5 to 7 years, depending on your water (Korky). Fluidmaster says valves in use 7 years or more can start to wear out (Fluidmaster). Replace the valve if:
- It won't hold an adjustment, or the level creeps up over days.
- Water keeps trickling into the overflow tube even after you lower the float.
- It squeals, whistles or hammers when it shuts off (Korky).
- The float ball is cracked or fills with water (SWFWMD).
If it still runs or the bowl stays low
- Water still trickles into the overflow tube after adjusting: the fill valve may not be shutting off fully. Replacing it is usually the fix.
- Tank level is right but the bowl is low: check that the refill tube is clipped into the overflow tube. Gerber notes a tank that sits well below the overflow line may not hold enough water to refill the bowl (Gerber).
Our guide on a whistling toilet fill valve walks through replacing a fill valve step by step. If the bowl loses water between flushes, that's a separate problem covered in why a toilet water level drops by itself.
Frequently asked questions
Where should the water level be in a toilet tank?
Below the top of the overflow tube. Korky says about 1/2 inch, the Portland Water Bureau says 1/2 to 1 inch, and American Standard says 1/4 to 1/2 inch. Use the mark on your fill valve or tank if there is one.
What happens if the tank water is too high?
Water spills into the overflow tube and runs down to the bowl constantly. The Portland Water Bureau calls this a large leak.
What if the water level is too low?
The flush is weak or incomplete, and the bowl may not refill fully.
Can I adjust the bowl water level directly?
Not really. The bowl level is set by the toilet's built-in trap. You can only make sure the tank refills it fully after each flush.
Smell gas? Leave the building without switching anything on or off, then call your gas utility or 911 from outside.
Know your shutoff. Find your home’s main water shutoff before you need it. Most fixtures also have their own small valve.
Sources
- How to find and fix a toilet leak, Portland Water Bureau
- How do I adjust the water level in the toilet bowl if it is low?, American Standard
- How to Replace Toilet Fill Valve, Korky
- How to Fix Loud or Broken Fill Valve, Korky
- Why is the toilet bowl water level low?, Gerber Plumbing Fixtures
- Fix a Leak Week Student Fact Sheet, EPA WaterSense
- Toilets: Check for Leaks, Southwest Florida Water Management District
- Toilet Tank Won't Fill Up or Is Slow to Fill, Fluidmaster
- How to Fix a Toilet Bowl That Won't Refill After Flushing, Korky
- How to Fix a Slow-Filling Toilet, Korky
Spotted an error? See our corrections policy or email contact@pipeanswers.com.

Pipe Answers Editorial Team
Our editors build each guide from the sources listed above and check every claim and number against them before publishing. How the team works
Kevin Orr
Expert Reviewer, Plumbing
Texas Master Plumber License, M-47441 · Verify license
Kevin Orr is a Texas Master Plumber, a U.S. Army veteran and the owner of a plumbing company. In his view, good plumbing is more than fixing pipes. It means showing up when you say you will, explaining what needs to…
Related guides
-
 Toilets
Toilet Leaking at the Base? How to Find the Source and Fix It
Water around the toilet base can be sweat, a supply line, a loose toilet or a failed wax ring. How to test each one, why a wax ring can't be fixed in place, and when to call a plumber.
-
 Toilets
Why Is My Toilet Tank Sweating? Causes and How to Stop It
A sweating toilet tank is condensation: humid bathroom air meets a tank full of cold water. How to tell sweat from a leak, and the fixes that work, from a fan to an anti-sweat valve.
-
 Toilets
Why Does My Toilet Fill So Slowly? How to Speed It Up
A toilet tank that takes minutes to refill usually has a partly closed supply valve, a kinked or clogged supply line, or a fill valve clogged with sediment. How to find which and fix it.
-
 Toilets
Why Is My Toilet Fill Valve Whistling? Causes and Fixes
A whistling or squealing toilet is usually water forced through a worn or clogged fill valve. Check the supply valve first, then replace the fill valve. What each toilet noise means.